
Headshot session step by step: A stress-free guide
- Jeff Borchert
- Apr 12
- 8 min read

TL;DR:
Preparation, including wardrobe and grooming, is essential for a successful headshot session.
Modern sessions feature live previews, active coaching, and varied backgrounds to enhance authenticity.
Post-session, images are delivered quickly and should be used strategically across platforms for maximum impact.
Booking a corporate headshot session can feel surprisingly nerve-wracking. You’re not sure what to wear, how to pose, or whether you’ll actually like what you see. For many Calgary professionals, the anxiety of being in front of a camera is the biggest hurdle between them and a photo they’re genuinely proud to use. The good news? When you understand exactly what to expect, that anxiety fades fast. This guide walks you through every stage of a professional headshot session, from preparation to final delivery, so you can show up with confidence and walk away with images that truly work for your brand.
Table of Contents
Key Takeaways
Point | Details |
Preparation is key | Knowing what to bring and expect makes your session stress-free. |
Follow each step | A clear process helps you feel confident and get the best results. |
Avoid common errors | Simple adjustments keep your headshots professional and appealing. |
Use your images wisely | Strategic use of your headshots can boost your professional presence. |
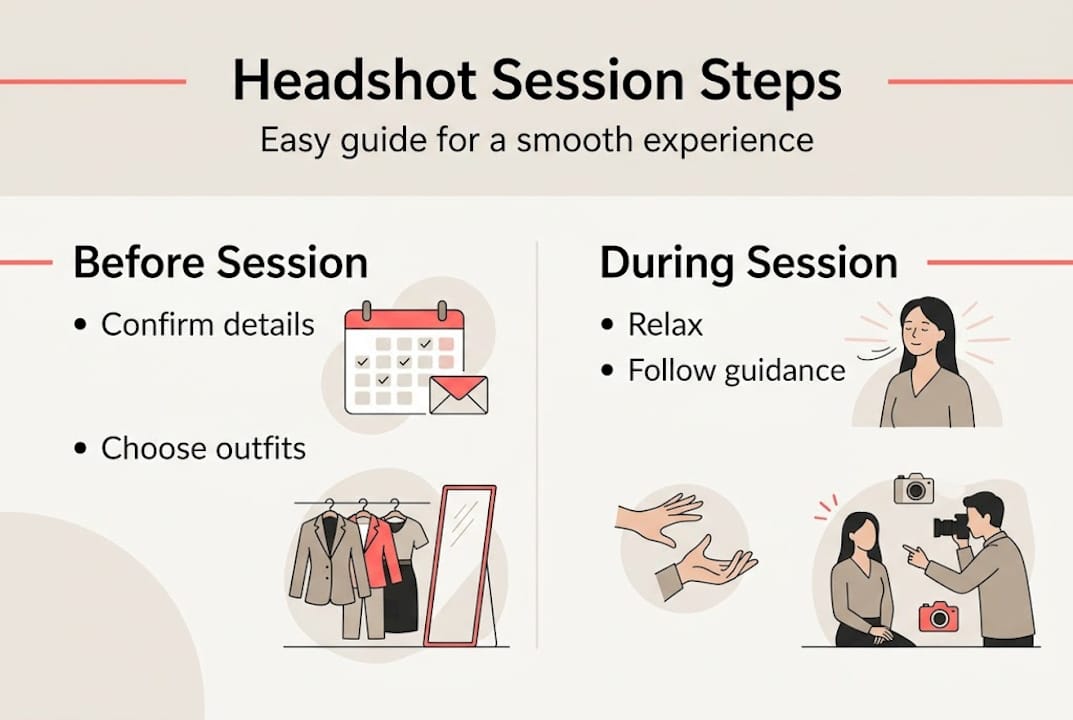
What to know before your headshot session
Preparation is everything. Before you even step in front of a camera, a little groundwork goes a long way. Proper preparation increases headshot session efficiency and client satisfaction, which means less time reshooting and more time getting great results.
Start by confirming the essentials with your photographer: session time, exact location, available backgrounds, and how many outfit changes are included. These details shape your entire experience. You’ll also want to think carefully about attire, grooming, and your mindset going in.
Here’s a quick reference table to keep your preparation organised:
Preparation area | What to do |
Wardrobe | Choose 2-3 solid-coloured outfits that reflect your professional brand |
Grooming | Schedule haircuts 1-2 weeks before; avoid drastic changes the day before |
Skincare | Moisturise the night before; avoid heavy products on session day |
Paperwork | Confirm any release forms or booking details in advance |
Rest | Get a full night of sleep so you look and feel your best |
What to bring to your session:
Two or three outfit options (including a backup)
A lint roller and small grooming kit
Any props or branded items relevant to your work
A list of your intended uses (LinkedIn, website, print)
An open mind and a willingness to take direction
Mentally, it helps to review complete planning tips ahead of time so nothing catches you off guard. Think of the session as a professional meeting, not a performance. You’re not expected to be a model. You’re expected to be yourself.
Pro Tip: Ask your photographer in advance what backgrounds and poses are available. Knowing your options lets you visualise the final result and arrive feeling prepared rather than reactive.
One often-overlooked factor is the importance of professional photos in shaping first impressions. Studies on business psychology consistently show that people form judgements within seconds of seeing a profile image. A polished, authentic headshot signals credibility before you’ve said a single word.
Step-by-step guide to your headshot session
With your preparation complete, let’s walk through the session step by step. Knowing the sequence removes the guesswork and helps you stay relaxed throughout.
A structured approach reduces nerves and ensures consistent quality, which is exactly why we follow a clear process at every session.
Here’s how a professional headshot session typically unfolds:
Consultation: Your photographer reviews your goals, intended uses, and preferred style. This is the moment to mention any concerns about posing or expression.
Arrival and setup: You settle into the space, review the available backgrounds, and get comfortable with the environment.
Wardrobe check: Your photographer reviews your outfit choices under the actual lighting to confirm what works best on camera.
Shooting time: The session begins! Your photographer guides your posture, expression, and angles throughout. This is collaborative, not one-sided.
Live preview feedback: You review images together on a screen mid-session. This is a game-changer. Seeing what works in real time lets you adjust and improve.
Wrap-up: Your photographer confirms you have the variety you need before wrapping. No rushing out the door.
Here’s a quick comparison to show how the modern experience differs from the traditional one:
Experience element | Traditional headshots | Modern headshots |
Posing guidance | Minimal direction | Active, real-time coaching |
Image review | After the session only | Live previews during the shoot |
Backdrop options | Limited, often grey or white | Varied, tailored to your brand |
Turnaround time | Weeks | Often a few business days |
Overall feel | Formal and stiff | Relaxed and collaborative |
Knowing what makes a headshot stand out comes down to expression and authenticity. The best images aren’t the most technically perfect ones. They’re the ones where you look like yourself, just at your best. Your photographer should also walk you through professional headshot setup tips to ensure the lighting and framing serve your specific features.
Common mistakes and troubleshooting during headshots
Even when you follow the steps, a few missteps are common. Let’s address them so you can course-correct quickly and keep the session moving.
Avoiding common mistakes saves both time and budget, and most of them are entirely preventable with a little awareness.
The most frequent headshot mistakes include:
Wearing busy patterns or logos that distract from your face
Arriving tired or rushed, which shows in your expression
Choosing clothing that doesn’t fit well or feels uncomfortable
Neglecting posture, which can make even great lighting fall flat
Over-styling hair or makeup to the point it no longer looks like you
Tensing your jaw or shoulders without realising it
The good news is that most of these are fixable on the spot. If your outfit isn’t working, swap to your backup. If you’re tense, your photographer can guide you through a few deep breaths and a quick reset. Good posing tips for headshots focus on natural alignment rather than forced stances, so trust the direction you’re given.
Pro Tip: Watch the image previews with your photographer during the session. Seeing yourself mid-shoot helps you understand what adjustments to make, and it removes the guesswork from the final selection.
It’s also worth understanding the difference between headshots and portraits, because the goal of a corporate headshot is specific. It’s not about dramatic lighting or artistic composition. It’s about clear, professional representation of who you are in a business context.
“Confidence comes from proper preparation. When you’ve done the groundwork, the camera picks up on that ease. It shows in every frame.”
If something feels off during the session, say so. A good photographer wants you to feel comfortable. Speaking up is always the right move.
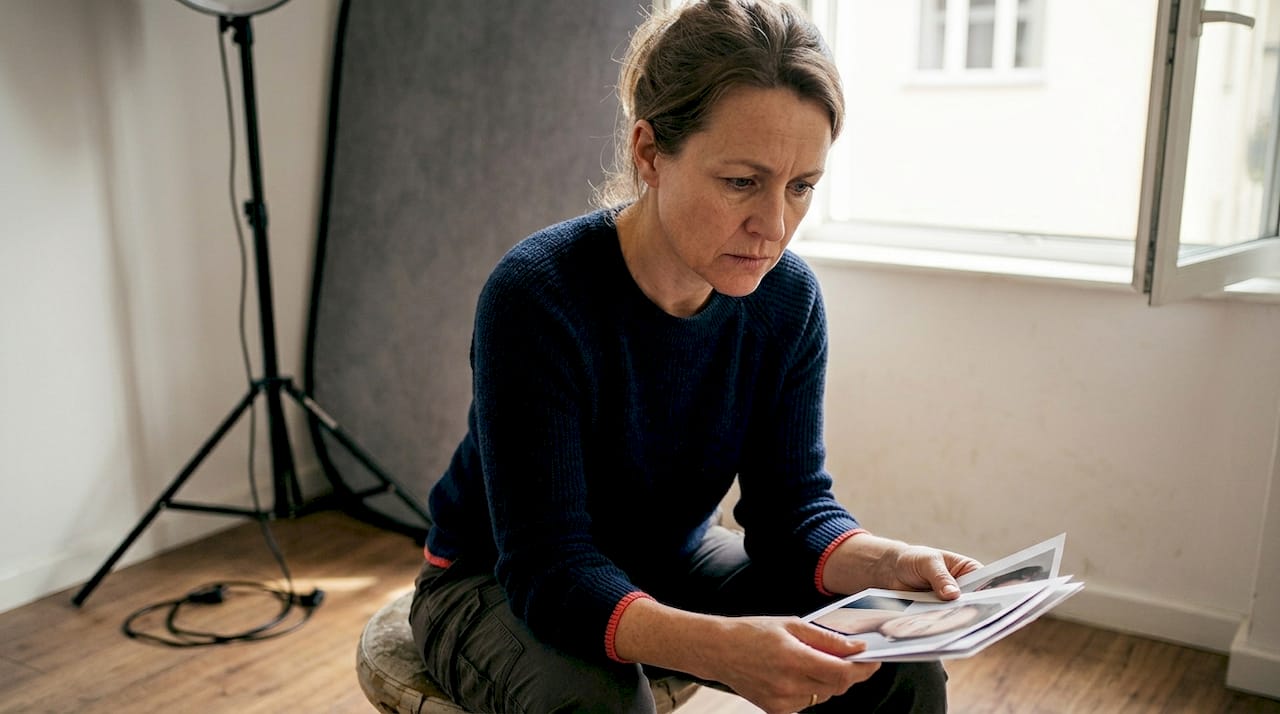
What to expect after your session: Results and next steps
Once you finish your session, here’s how to turn your images into a valuable asset.
The post-session process makes your images ready for business or branding use, and it’s more straightforward than most people expect.
After your session, your photographer will deliver a proofing gallery, typically within a few business days. You’ll review the images and select your favourites. From there, retouching is applied to remove temporary blemishes, smooth lighting inconsistencies, and ensure the final images are polished without looking over-edited. The goal is always to look like the best version of yourself, not a different person entirely.
Here’s how to make the most of your finished headshots:
Update your LinkedIn profile immediately. It’s the highest-traffic platform for professional first impressions.
Send your web developer the approved image for your company website or bio page.
Use a high-resolution version for any print materials, such as business cards or conference programmes.
Store originals in a cloud folder with clear file naming (your name, date, version).
Keep a web-optimised version ready for quick uploads to directories or media kits.
Revisit your headshots every two to three years, or after a significant change in appearance or role.
Choosing the right image for each platform matters. LinkedIn favours a warm, approachable expression with a clean background. Corporate websites often call for something slightly more formal. Print materials may need a higher resolution file than digital platforms require. Knowing your end use before you select images makes the decision much easier.
Your headshot is also a long-term investment in your personal brand. A strong image builds credibility before you’ve even had a conversation. You can explore more about using professional headshots effectively across different channels to get the most out of every image you’ve captured.
Fresh perspective: Why headshot sessions are less about photos, more about confidence
After reviewing what comes next, here’s a deeper insight worth sitting with.
Most people walk into a headshot session focused entirely on the technical outcome. They want sharp focus, good lighting, and a flattering angle. Those things matter, of course. But in my experience working with Calgary professionals, the images that truly stand out have something else going on entirely.
They have presence.
Presence isn’t something you apply in post-production. It comes from feeling at ease in front of the camera, from trusting the process, and from a photographer who creates space for your real personality to come through. The business impact of photography is real, but it’s driven as much by authenticity as by technical quality.
When clients leave a session feeling good about the experience, the images reflect that. Every time. The Calgary corporate market is competitive, and a headshot that communicates genuine confidence is one of the most powerful tools you have. Don’t underestimate it.
Ready for your perfect headshot session in Calgary?
If you’ve made it through this guide, you’re already more prepared than most people who walk into a headshot session. That preparation is going to show.
[
At Jeff B Photography, we specialise in Calgary’s best headshots for professionals who want a relaxed, guided experience and results they’re genuinely excited to use. Whether you need a solo session or headshots for your entire team, the process is built to be easy, efficient, and outcome-driven. Ready to take the next step? Book your headshot session and let’s create something you’ll be proud to put your name on.
Frequently asked questions
How should I prepare for a headshot session?
Choose clothing that reflects your brand, get plenty of sleep, and confirm details with your photographer a day before. Proper preparation increases session efficiency and leads to better results overall.
What should I wear for business headshots?
Opt for solid colours, subtle textures, and clothing that makes you feel confident and professional. Avoid busy patterns or logos that draw attention away from your face.
How long does a typical headshot session take?
Most headshot sessions last between 30 minutes and one hour, depending on the number of setups and outfit changes included.
When will I receive my finished headshot images?
You can usually expect finished images within a few business days after your session, depending on the level of retouching required.
Why does having a professional headshot matter?
Professional photos have a significant impact on personal branding and business credibility, helping you make a strong first impression before you’ve said a word.
Recommended
Comments